Pre-Scanning
Prescanning is the option used to determine the centre frequency of the nuclei under examination, the transmit power required for maximum signal and to set an optimal receiver gain. This can be executed in either an automated or a manual way. Routinely the automated prescan would be the method of choice.
Auto Prescan

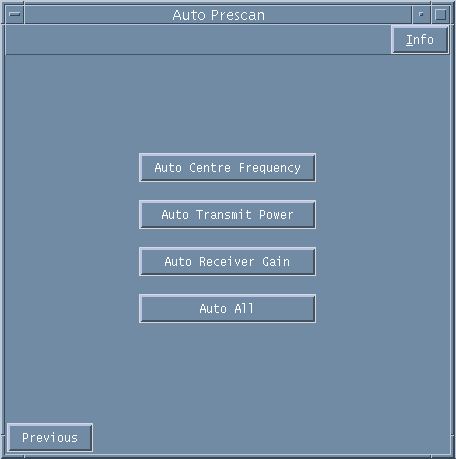
Figure 1. Auto Prescan window.
By selecting AUTO PRESCAN on the Scanning Page the menu in Figure 1 is displayed.
From this page the system is programmed to automatically set Prescan values. The three steps can be carried out in turn or the three steps can be initiated with one selection using the AUTO ALL button.
AUTO CENTRE FREQUENCY: determines the centre frequency of the nuclei under examination (Hz) on which to transmit RF.
AUTO TRANSMIT POWER: determines the optimum magnitude of RF power required to give maximum signal from a 90 degree flip angle (dB). From this value the power required for different flip angles can be determined.
AUTO RECEIVE GAIN: samples the received signal and sets the Gain to avoid ADC overflow and to optimize the signal. this step must be repeated whenever a scan parameter of pulse sequence prescription is altered. The
Auto Centre Frequency and Auto Transmit Power steps need only be carried out once per study.
AUTO ALL will initiate all of the above sequentially.
The message "done prescanning" appears in the top Varian window on the left of the screen when the calibration has taken place. You can now proceed to acquire the scan.
The full Auto Prescan need only be carried out for the first acquisition if scanning the same region. For further scans it is usually only necessary to set the Auto Receiver Gain each time.
Select PREVIOUS to return to Scanning Page menu.
Manual Prescan

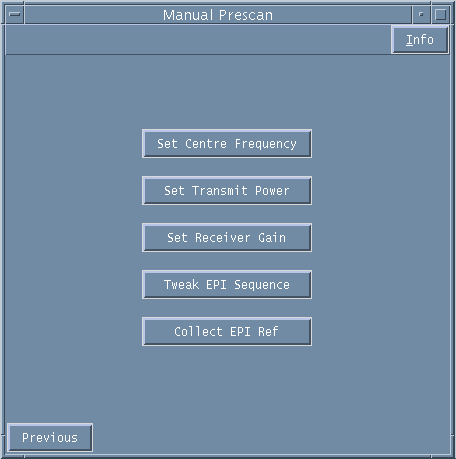
Figure 2. Manual Prescan window.
Occasionally you may not want to calibrate the system using the automatic prescan (e.g you want to centre on the fat peak and not the water peak).
From the Manual Prescan page you are able to manually set the Centre Frequency, Transmit Power and Receiver Gain. From this page you also access the EPI programmes "Tweak EPI Sequence" and "Collect EPI Ref".
SET CENTRE FREQUENCY: When this option is selected a spectrum is acquired and displayed. From this spectra you can determine the offset required for the nuclei under examination and manually enter the offset value in Hertz at the Varian window prompt. To exit this window and return to the Manual Prescan page type 0[RTN] at the Hz prompt (i.e., zero offset).
SET TRANSMIT POWER: This option runs a calibration experiment for the transmit power and allows you to type in at the Varian window prompt the power in dB that determines the 90 degree pulse.
SET RECEIVER GAIN: This option allows you to type in a receive gain value (0 to 63). The Varian window will display the fraction of the ADC that is filled by the signal in units of percent. You should aim for somewhere in the range 50% to 75%.
TWEAK EPI SEQUENCE: This option launches the "EPI Tweaker" menu used to optimize the gradient timing is an EPI experiment. It's function is fully described in the section on EPI Tweaking.
COLLECT EPI REF: Once an EPI sequence has been tweaked it is necessary to collect a phase reference scan so that the EPI ghosting can be corrected. When the Collect EPI Ref button is pressed, a phase reference scan will be collected for each prescribed slice. The data set is automatically saved. More details are in teh section on EPI Tweaking.