Sequence Information Window

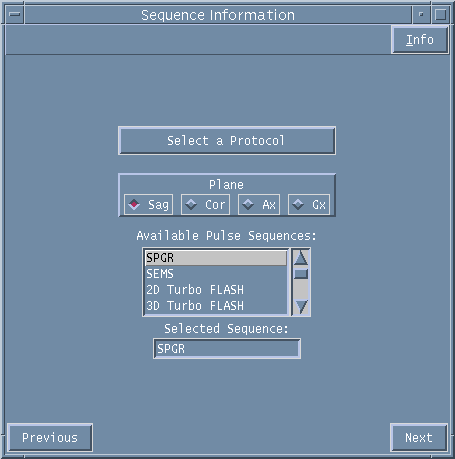
Figure 1. Sequence Information entry window.
You now have the option to select a protocol from a list of pre-saved protocols or to build your own scanning protocol.
Using a pre-programmed protocol
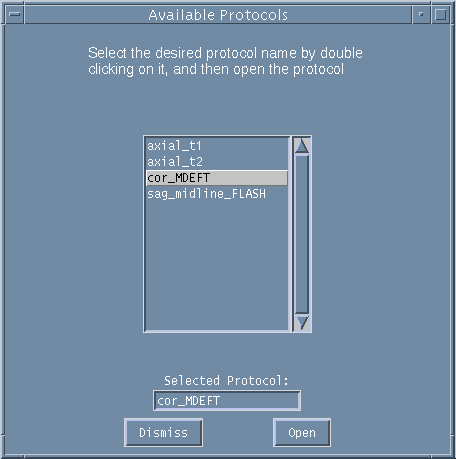
Use the left-hand mouse and click on SELECT A PROTOCOL to bring up the list of available protocols.

Figure 2. Available Protocols menu
Use the scroll bar to locate your chosen protocol and then double click with the left-hand mouse to select it. If the protocol showing in the SELECTED PROTOCOL box is correct click on the OPEN button.
If you chose not to open a pre-saved protocol you can get back to the Sequence Information page select by pressing DISMISS.
Once you have opened a pre-saved protocol you can now progress through each of the following windows and either keep the pre-set parameters or adapt the protocol by entering your own parameters. The parameters you enter will be for this scan only and will not be saved unless you chose to save them (see SAVING AND DELETING PROTOCOLS).
Building your own Protocol
This section takes you through the steps needed to build your own protocol.

Figure 3. Sequence Information menu.
From the SEQUENCE INFORMATION page first select the imaging plane required from the Sagittal (Sag), Coronal (Cor), Axial (Ax) or Graphic (Gx) options.
The Graphic option will allow you to graphically plan a scan in either an orthogonal or an oblique orientation. The Graphic option requires a previously acquired image to plan from so cannot be chosen as the first scan in a new study.
Next chose the pulse sequence you want to run by scrolling through the AVAILABLE PULSE SEQUENCES options and double clicking with the left-hand mouse on your selection.
Available Pulse Sequences
For a list of the pulse sequences that are available to choose from see the full list.
The pulse sequence name will appear in the SELECTED SEQUENCE box.
Use the NEXT button to move to the next menu page.